With the recent outcry against Facebook and its handling of data on its millions of users, it wouldn’t be surprising if you wanted to delete your account. Here’s how to do just that from your phone…

Amazon Kindle Paperwhite
Steps to deleting your Facebook account from your phone
- Understanding the difference between deactivating and deleting
- Deactivate your account
- Delete your account permanently
- Extra: Archiving your data
1. Understanding the difference between deactivating and deleting
Facebook offers two different ways to remove your account from the social network. The first route allows you to deactivate your account. With this, your profile is removed from search results, friends won’t be able to see your timeline, but some of your data like Messages still remains visible.
Choosing this option also makes it possible for you to reactivate your account if the time comes and you want your Facebook profile back. All you will need to do is head back to Facebook’s website and sign in with your old login.
The second route, in which you delete your account, is the permanent solution. When you do this, you are telling Facebook to delete your entire account including all of your private data, photos, messages, and more.
You should know that Facebook states that it can take up to 90 days for your data to actually get deleted from the company’s servers. Additionally, some data like log records aren’t ever deleted, but any personal identifiers are removed.
2. Deactivate your account
After opening the Facebook app on your phone, tap on the overflow button found on the far right of the navigation bar. From there, scroll down to the ‘Help & Settings’ heading and select Account settings.
Next, choose General and then Manage Account. You should now see a tiny ‘Account’ section. You’re going to need to tap directly on the Deactivate text.
To proceed, you’re going to need to enter your Facebook password before heading to the last step in deactivating your account.
Once on this last page, Facebook will confirm that you actually want to deactivate your account (citing the fact that you won’t be able to see your friend’s and family’s posts), ask you why you’re leaving with a survey, and lets you know what’ll happen to the pages your account manages. After going through all of that, you can either select Deactivate or Cancel.
Use the images below for help if you get lost along the way.
3. Delete your account permanently
Deleting your Facebook account from your phone is even easier than deactivating it. But first, remember, deleting your account is a permanent process and cannot be reversed.
If you’re sure that you want your Facebook account deleted forever, head to https://www.facebook.com/help/delete_account. This will load Facebook in a mobile web browser. To proceed, you might need to sign into your account.
After, the window will confirm that you want to delete your account and walk you through what that process means. Just type in your password one last time, and your Facebook account will be gone forever.
4. Extra: Archiving your data
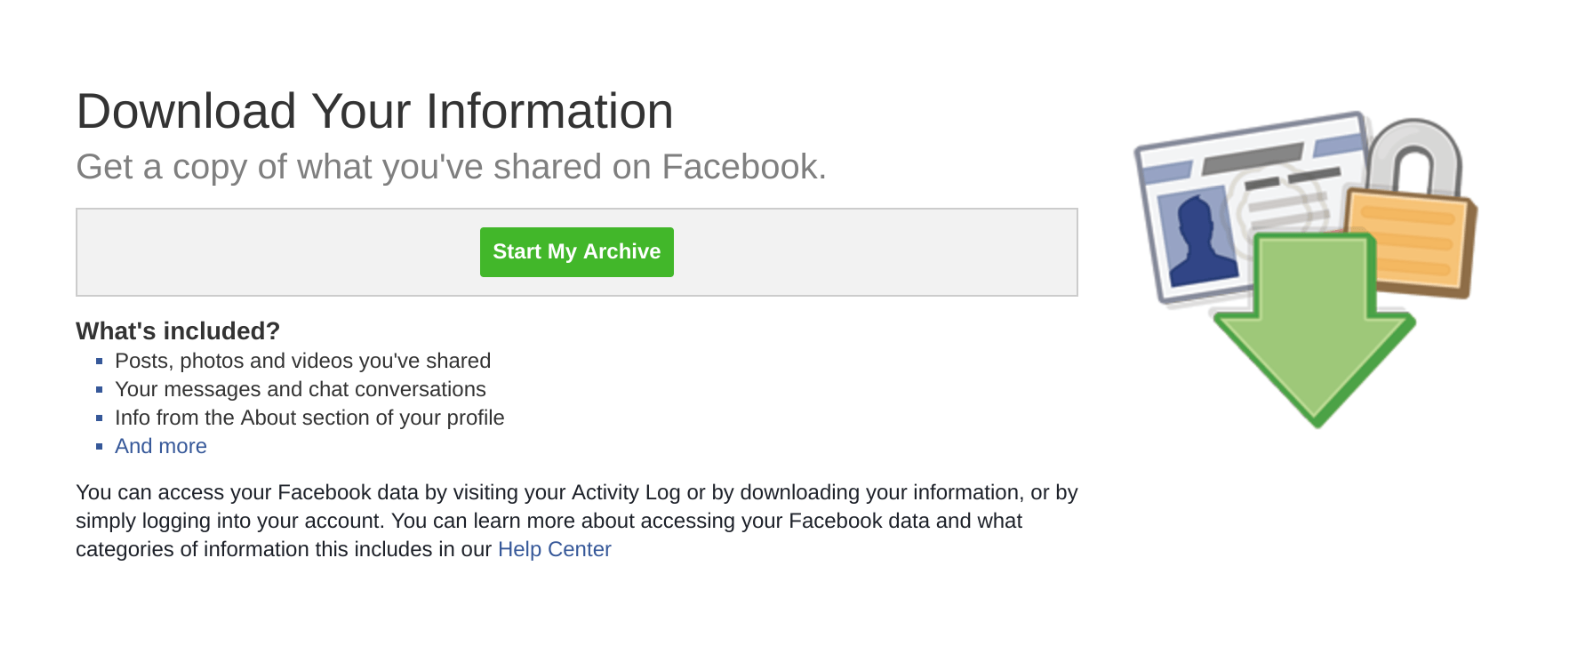
In case you want to still keep your Facebook profile data on hand if you’re deactivating or deleting your account, you can download an archived version of your profile. This includes your posts, shared photos, messages, information from your About section, and more. Unfortunately, you can’t do this from your phone, so you’ll need to grab a computer.
To do this, go to the Facebook website on your computer, tap on the down arrow next to your profile picture, and select Settings. Below the list of options, you can click on Download a copy of your Facebook data.
Lastly, just select Start My Archive and the file will be downloaded to your computer.


0 comments:
Post a Comment