If you have been on Facebook recently, you may have seen a few of your friends update their status with this warning:
ALL THE PHONE NUMBERS of your contacts are now on Facebook! Go to the top right of the screen, click on ACCOUNT, click on EDIT FRIENDS, left side of screen and click CONTACTS. You will see all phone numbers from your phone (FB friends or not) are published that you have stored in your mobile phone. TO REMOVE, go to the right column, click on 'this page.' Please repost this on your status, so your friends can remove their numbers and thus prevent abuse if they do not want them published.
This isn't the first time that Facebook has published personal information about its users, and I don't know how recently this change to sync phone contacts, too, took place. But I can tell you that on my Phonebook Contacts list (Account > Edit Friends > Contacts), many but not all of my Facebook friends' phone numbers--both mobile and sometimes home--are listed. According to Facebook, this Phonebook "displays contacts you have imported from your phone, as well as your Facebook friends." Below this quote in the right-hand column of the Phonebook page, it offers instructions and a link to disable this feature and remove your mobile contacts.

That's all well and good, but unless all of my Facebook friends disable this feature, my number will still be out there, in the Facebook ether. In this tutorial, I will show you how to delete your phone number. And if you'd like, how to delete those of your Facebook friends as well.
I am an iPhone user, and I certainly didn't voluntarily provide my cell phone number to Facebook. (Just because I am Facebook friends with someone doesn't necessarily mean I want them calling me.) I don't know for sure, but I'm guessing my number got added when I installed the Facebook app on my iPhone.
To delete your phone number (or see if your number is listed), log in to Facebook and click the gray Edit Profile button in the upper-right corner of your profile page. Then, in the left-hand column, click on Contact Information. In the area labeled Phones, you'll see any numbers you've registered with Facebook, perhaps unknowingly. Remove any numbers you see there and click the blue Save Changes button below.

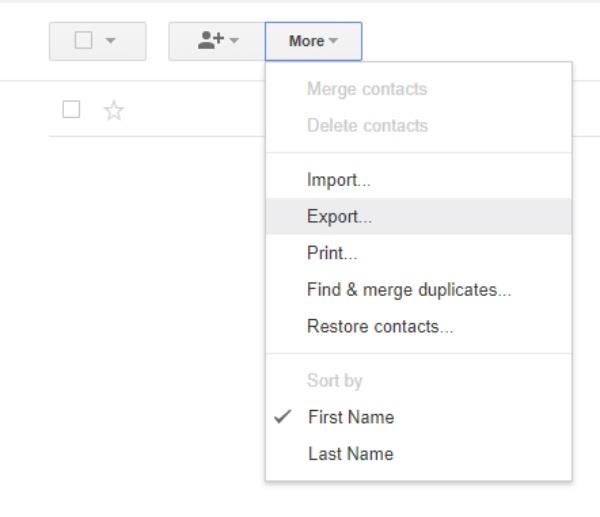
To delete your friends' phone numbers from Facebook's Phonebook Contacts list, click on Account in the upper-right corner of Facebook and then click on Edit Friends. Next, click on Contacts from the left-hand column and you should see many of your friends' phone numbers on the Phonebook Contacts page. In the right-hand column, Facebook provides a description of the page and how to remove your mobile contacts. Click on the linked words "this page" and then on the next page, hit the Remove button.
On the Remove page, Facebook says, "Before you click Remove, you need to make sure syncing is switched off" and gives instructions on how to find syncing on an iPhone.

To do so, open the Facebook app on your iPhone. From the main menu, tap the Friends icon, then the Sync button in the upper-right corner, then the Sync Contacts button, and then next to Syncing move the slider to Off.